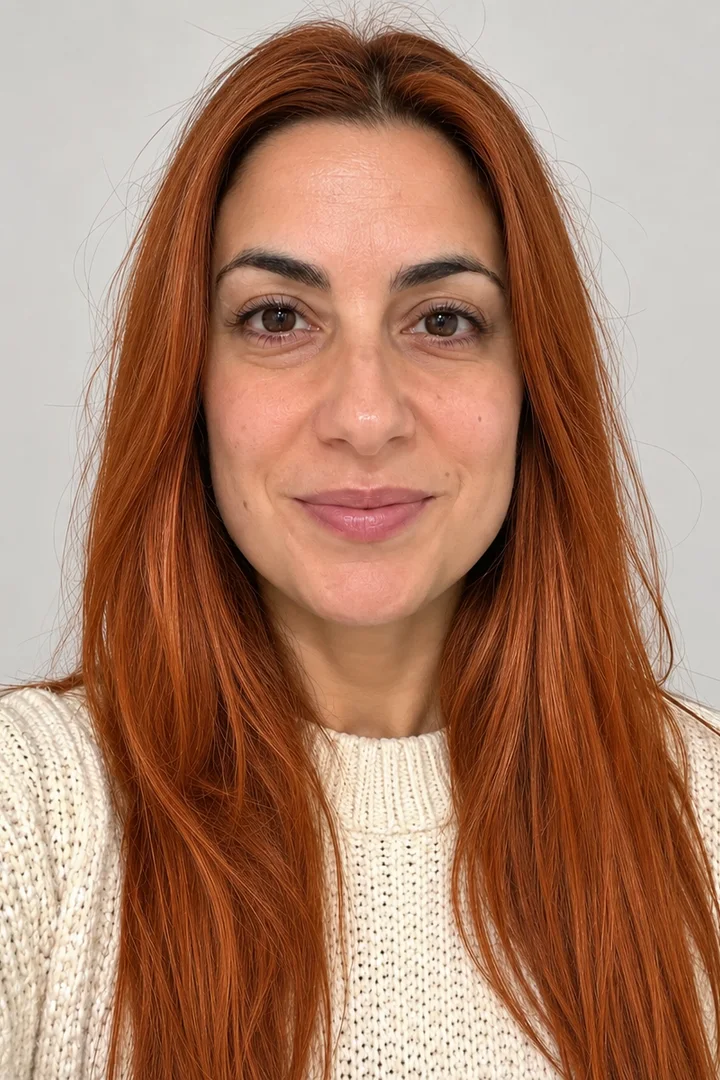
 Still only
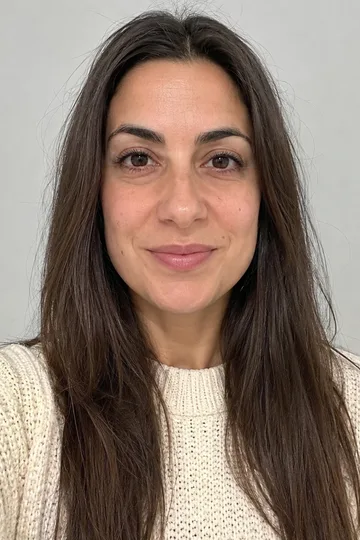
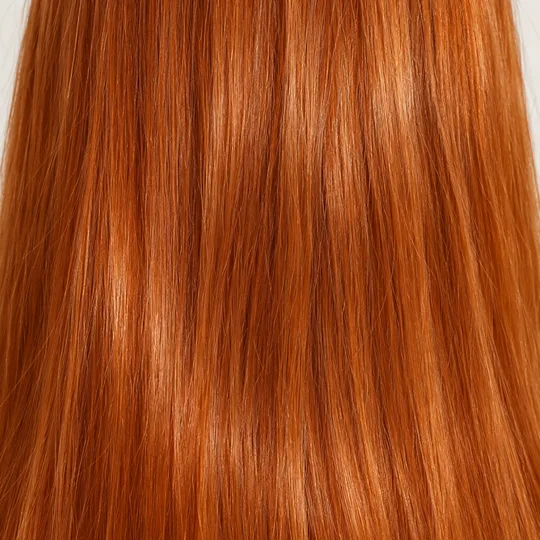
Colour only
- Input 1
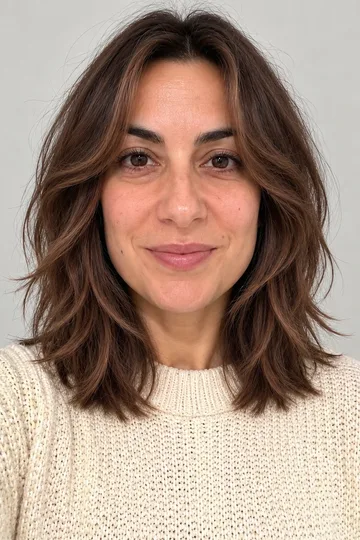
- The same selfie
- Input 2
- Straight copper hair, colour only
- Prompt
- Change only the colour; keep the cut, length and parting
- Output
- Same long straight hair, now copper; face, sweater and wall unchanged
Add your selfie as Image 1 and the haircut you saved as Image 2, and Lovart ME redraws your hair in that cut while your face stays yours.
Last checked 2026-11-04
2:3 · still only, no video
Joining the trend is free; making it on Lovart ME uses credits from packs starting at $9.90 for 250 credits. Each button shows its exact cost before you generate.
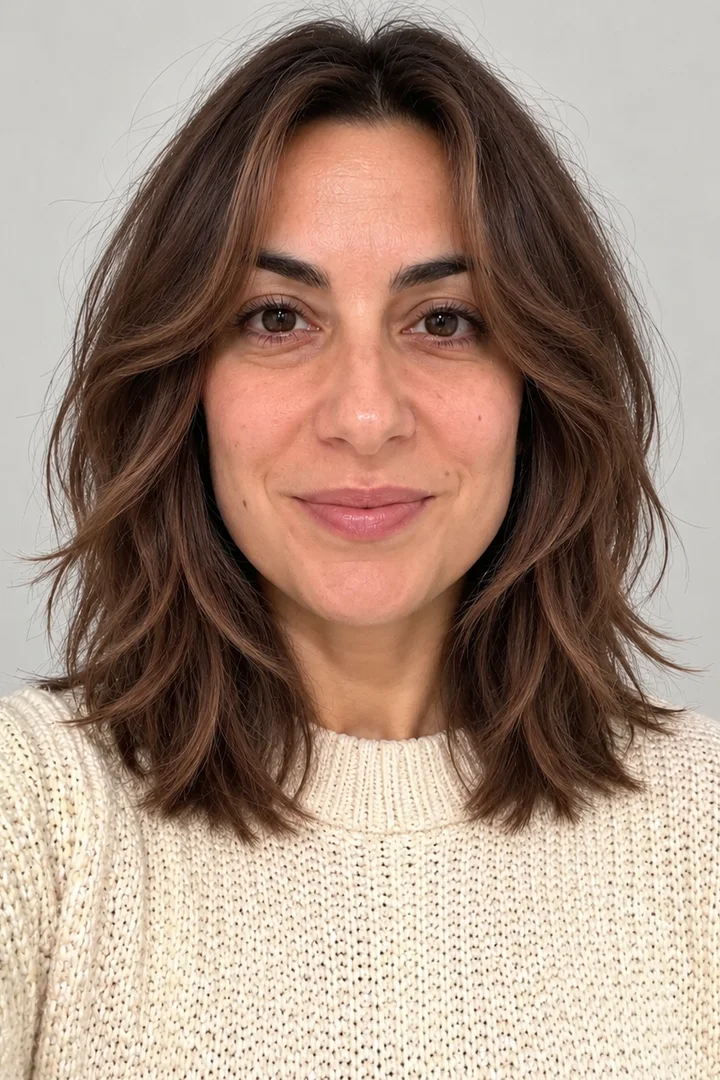 SAMPLE · INPUT → RESULT
Sample inputs and result from this page. Your result will appear here.
One original adult and one saved shag photo become the new look, a colour-only version, a holiday bun and a three-view stylist sheet, all made on Lovart ME's image tool.
The woman is an original generated adult, not a customer; the reference photos show hair only, never a face. Every result below was made once on November 4, 2026 with GPT Image 2.5 Flare through the project's sample tools, using the same image-to-image route as the Hair Reference tab.
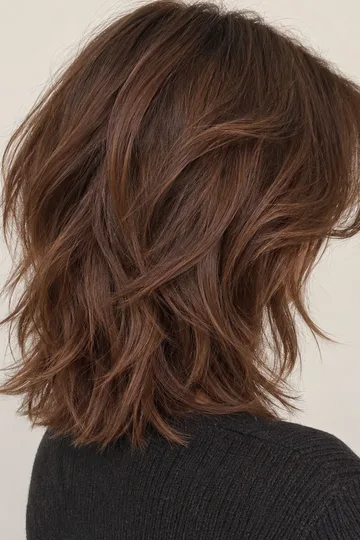
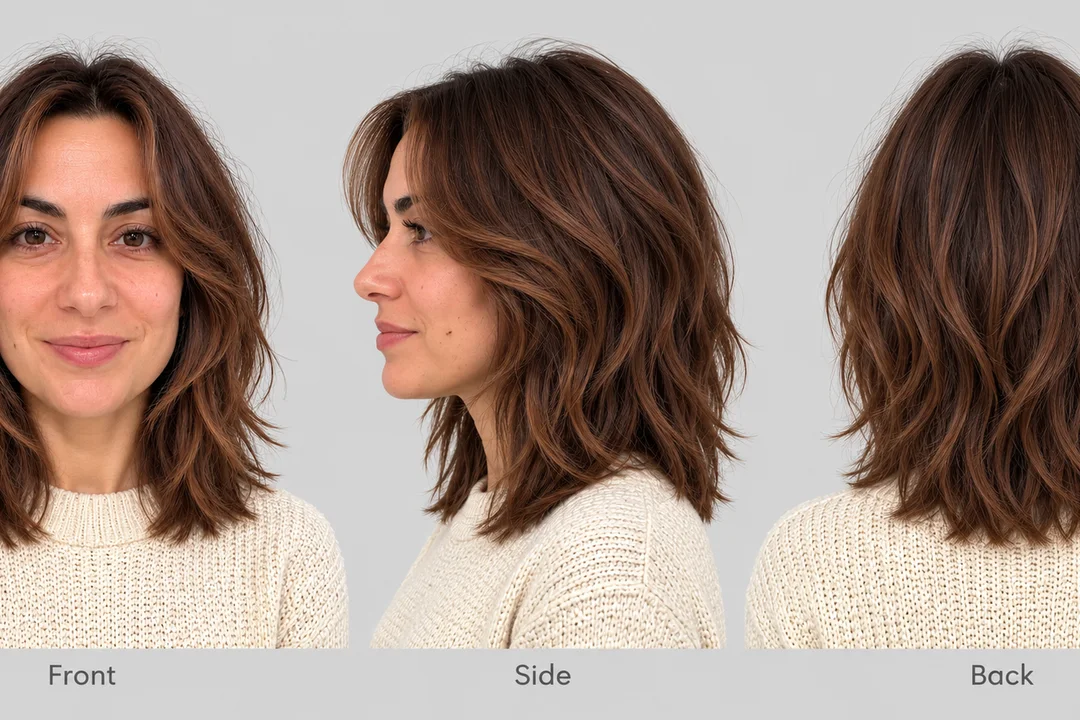 Still only
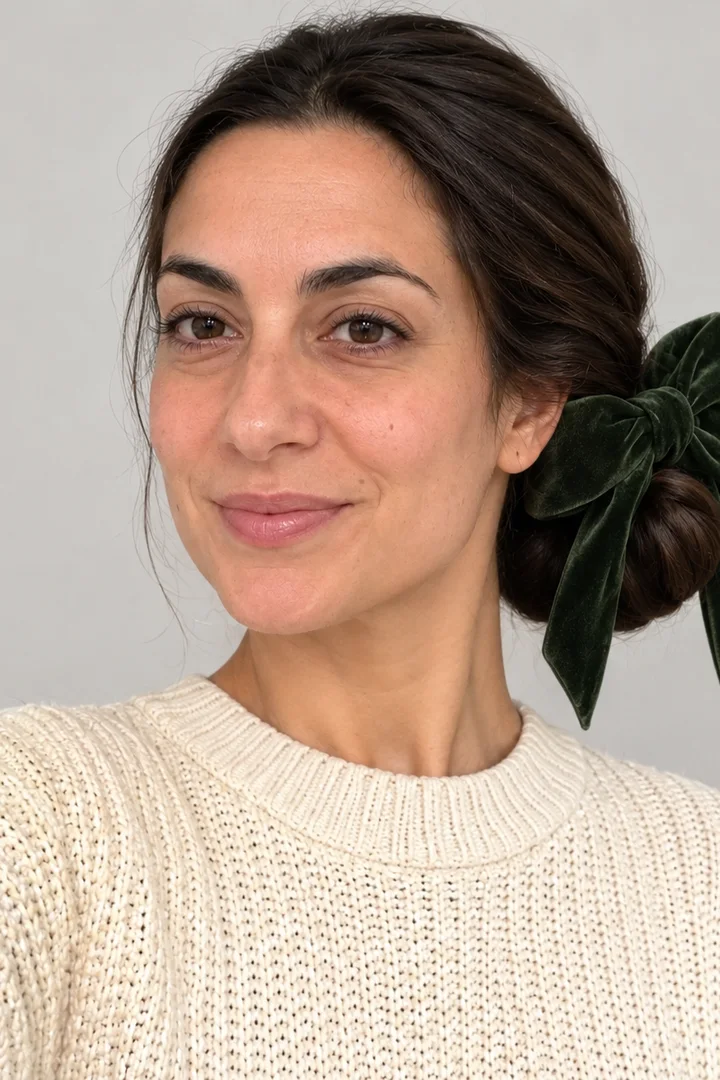 Still only
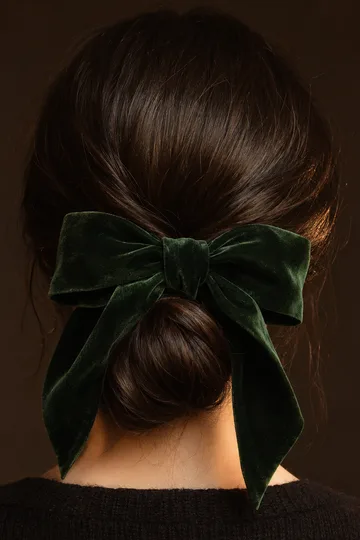 Still only
Put your selfie in the first slot and the haircut photo in the second, write that only the hair should be copied, then press Generate the look.
A clear, recent photo with your face straight to the camera, even light and hair visible around the face; no hat, no hand on the hairline. A three-quarter photo helps if you want to judge layers at the side.
The photo you saved, cropped to the hair. Side and back views show length and layers best. The Lovart ME image tool takes several references in one request (up to 16, by model); this tab uses up to three: selfie, haircut and an optional colour.
Copy the Cut already tells the model that the second photo is hair only and that your face, skin and clothes stay. Curly or coily? Pick a reference with your texture so the curls stay curls.
Press Generate the look, then compare the result with your selfie: same face, same sweater, new hair. If the face drifts, rebuild once before you change the reference.
Run the result once more as a front, side and back sheet so your stylist sees the length, layers and fringe from every angle.
Download the result, pick Stylist Sheet and upload it as the only photo. One landscape run gives three views of the same cut; the side and back views are the model's reading of the cut, so treat them as a guide, not a measurement.
A preview on your own face shows length, fringe and colour in one picture before the consultation; the stylist still checks your texture, density and current colour. Fine hair looks thicker with blunt ends, and curly hair needs weight left in. Lay the sheet and notes out side by side in PhotoCraft, the free editor here.
A sharp photo of the hair itself, length, layers, fringe and colour in even light, ideally from the side or back, with no face needed.
This way of working is also called hairstyle transfer: the reference donates the hair, your selfie keeps everything else. Crop the reference until the hair fills the frame, keep its angle close to your selfie, and make sure the whole style is visible.
Crop until the hair is most of the picture: length, layers and ends all visible.
Layers and length read best from the side or back; the face is not needed.
Daylight or soft studio light, no filter, so the colour you get is the colour you saw.
A clear face can pull the result toward that person; crop it out or use a back view.
Anything covering the hairline or tinting the photo gets copied as hair.
A top-down shot of a bun is hard to map onto a straight-on selfie; match the angle when you can.
Wavy and curly hair needs weight to hold its shape and frizzes when over-layered. Pick a reference with your own curl pattern and keep Copy the Cut; a straight reference will straighten the result.
Add your reference →A live filter paints a colour or a preset wig over your camera for free, while a generative changer redraws the cut itself from your photo or a reference, so it can show length, layers and texture.
| Route | What you get | What you prepare | Limits |
|---|---|---|---|
Live hair filters (free) | A colour or preset cut over the live camera | Your camera | Cannot copy a cut from a photo; length and layers look painted on |
Editors with free tries (limited free) | A new still from a style name or description | A selfie, sometimes a style pick | A few free runs, then paid; often no reference slot |
Lovart ME reference workflow (uses credits on this site) | Your face with the exact cut you saved, colour only, a party style and a three-view sheet | A selfie and the haircut photo | Credits per run, shown on the button; still images only |
It works on any face; your face shape and hair texture tell you which two or three references to test first, and curls stay curls when you ask.
| Face shape | References to test first | Example cuts |
|---|---|---|
| Oval | Almost any cut; test one long and one short reference | Long bob, layered shag |
| Round | Length below the chin, side-swept bangs; men: height on top, tight sides | Long bob, quiff |
| Square | Layers and texture to soften the jaw; men: buzz cut, French crop, close fade | Textured shag, French crop |
| Heart | A fringe and face-framing layers; men: medium swept styles | Curtain bangs, swept fringe |
| Diamond | Curtain bangs or a fringe | Curtain bangs |
| Oblong | Volume at the sides | Side volume, waves |
Fine hair looks thicker with blunt ends; thick hair needs weight taken out carefully; wavy and curly hair needs weight to hold its shape. Test two references of the same cut in your own texture before you pick one.
Test two references →Save a party style you like, such as a velvet bow bun or a sleek low pony, run it as the reference, then dress the result on AI Clothes Changer.
A smooth low bun with a velvet or satin bow, the sample above. Pick Holiday Updo and use a back view of the bow as Image 2.
A sleek low ponytail tied with a velvet string, or a low pony with shiny clips. Save a side view so the tie and the length show, then run it in Holiday Updo.
Download the result and open the AI Clothes Changer: your new hair goes in as image 1, the party dress or jumpsuit as image 2.
Live colour filters in camera apps cost nothing; generative editors usually give a few free runs, then charge. On Lovart ME each run uses credits and the button shows the cost before you generate.
For your selfie: face straight to the camera, even light, hair visible around the face, no hat or hand on the hairline. For the reference: the hair itself, sharp, ideally from the side or back.
Yes, as the second image. The prompt says to copy only the hair, so your face, skin and clothes stay yours; crop out any face in the saved photo first.
Bring the result and the front, side and back sheet, plus a note on length, fringe, layers and colour. The stylist still checks your texture, density and current colour.
It is used for your result and kept in your generation history under the privacy policy; you can ask for deletion. See the privacy policy for details. Privacy policy.
Use your own photo or one from an adult who agreed. Reference photos only need to show hair, so you do not need anyone else's face.
See all image effects.
Sources: L'Oréal Professionnel on try-ons, Sam Villa face shapes, FashionBeans men's cuts, Davines holiday styles (checked 2026-11-04).
Results are previews, not a promise of what a cut will do on your hair. Sample people are original generated adults; reference photos show hair only.